A Comprehensive Guide to Backing Up Your iPhone Data
Introduction:
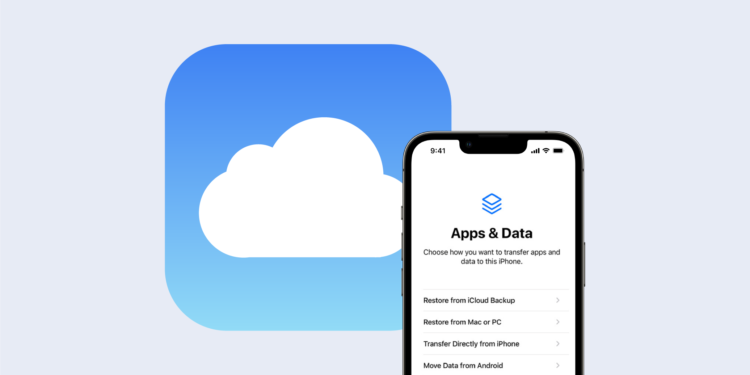
Your iPhone contains precious memories, important documents, and personal information. To protect these valuable assets from accidental loss or device failure, it is crucial to regularly back up your iPhone data. In this article, we will guide you through the process of backing up your iPhone, ensuring that your data remains secure and accessible.
- iCloud Backup: iCloud Backup is Apple’s cloud-based backup service that allows you to store your iPhone data remotely. To enable iCloud Backup:
- Connect your iPhone to a Wi-Fi network.
- Open the “Settings” app and tap your Apple ID at the top.
- Select “iCloud” and tap “iCloud Backup.”
- Toggle on the “iCloud Backup” switch.
- Tap “Back Up Now” to initiate an immediate backup or let your iPhone automatically back up when connected to Wi-Fi and charging.
- iTunes/Finder Backup (Mac or PC): iTunes (on macOS Mojave and earlier) or Finder (on macOS Catalina and later) allows you to back up your iPhone data directly to your computer. To perform a backup using iTunes or Finder:
- Connect your iPhone to your computer using a USB cable.
- If using iTunes, open the application. If using Finder, connect your iPhone, and it will appear in the sidebar.
- Select your iPhone in iTunes or Finder.
- In the “Summary” section, choose “Back Up Now” to initiate the backup process.
- Ensure that the backup process completes successfully before disconnecting your iPhone.
- Third-Party Backup Solutions: Several third-party applications provide additional backup options and features. These apps often offer more flexibility in terms of storage options and additional data types that can be backed up. Examples include iMazing, Dr.Fone, and AnyTrans. Research and choose a reliable backup solution based on your specific needs.
- Verify and Restore Backups: Regularly verifying your backups is crucial to ensure that your data is intact and can be successfully restored if needed. To verify your backups:
- For iCloud Backup: Go to “Settings,” tap your Apple ID, select “iCloud,” then “Manage Storage,” and finally “Backups.” Here, you can verify the date and size of your backups.
- For iTunes/Finder Backup: Connect your iPhone to your computer, open iTunes or Finder, select your device, and check the “Latest Backup” date and time.
- Automatic Backup Settings: To ensure regular backups, consider enabling automatic backup settings. This way, your iPhone will back up automatically, reducing the risk of data loss. For iCloud Backup, toggle on “iCloud Backup” and connect to Wi-Fi and power. For iTunes/Finder Backup, enable the “Automatically Back Up” option in the settings.
- Additional Backup Tips:
- Ensure sufficient iCloud storage space or available storage on your computer for backups.
- Keep your iPhone software up to date to benefit from the latest backup features.
- Encrypt your backups to include sensitive information and passwords for added security.
- Consider periodically archiving old backups to free up storage space and maintain organization.
Conclusion:
Backing up your iPhone data is essential for preserving your memories, documents, and personal information. Whether you opt for iCloud Backup, iTunes/Finder Backup, or third-party solutions, the key is to create a backup routine that suits your needs. By following the steps outlined in this comprehensive guide, you can safeguard your iPhone data and ensure peace of mind knowing that your valuable information is secure and easily restorable
The Review
Razer Blade (14-inch, early 2017)
A wonderful serenity has taken possession of my entire soul, like these sweet mornings of spring which I enjoy with my whole heart. I am alone, and feel the charm of existence in this spot, which was created for the bliss of souls like mine. Gregor then turned to look out the window at the dull weather. Drops of rain could be heard hitting the pane, which made him feel quite sad.
PROS
- Good low light camera
- Water resistant
- Double the internal capacity
CONS
- Lacks clear upgrades
- Same design used for last three phones
- Battery life unimpressive


